 833-377-8663

DIY Kitchen Cabinet Installation Tips: A Step-by-Step Guide

Table of Contents
- DIY Kitchen Cabinet Installation Tips: Getting Started
- Tools Needed for Cabinet Installation
- Preparing Your Workspace and Wall Layout
- How to Level Kitchen Cabinets on Uneven Floors
- Cabinet Installation Time Estimate and Project Planning
- Step-by-Step Installation Process for Upper and Base Cabinets
- Common Mistakes When Installing Cabinets
- Post-Installation Maintenance and Care
DIY Kitchen Cabinet Installation Tips: A Step-by-Step Guide
Last Updated: July 13, 2026
Installing kitchen cabinets yourself can save significant money and give you complete control over your renovation timeline. Understanding the fundamentals of DIY kitchen cabinet installation will help you avoid costly mistakes and achieve professional results. Below, we'll walk you through every phase of cabinet installation, from preparing your workspace to securing your final hardware.
Tools Needed for Cabinet Installation
The right tools make the difference between a smooth installation and a frustrating one.
Essential Hand Tools
Start with a tape measure (at least 25 feet), a 24-inch or 48-inch level, shims (thin wooden wedges), a stud finder, and a drill-driver combo. A circular saw or miter saw handles any cuts needed. Include a square, pencil, safety glasses, work gloves, a pry bar, and at least two clamps to hold cabinets in position while fastening.
Power Tools and Equipment
A cordless impact driver speeds up fastening and reduces hand fatigue. A cabinet jack (drywall lift) is invaluable for supporting heavy upper cabinets while you position and fasten them, eliminating the need for a second person. A stud finder with good battery life saves hours of guessing.
Budget-Friendly Tool Alternatives
Consider renting specialty tools rather than buying. Cabinet jacks, miter saws, and specialized levels are available at tool rental shops for reasonable daily rates. Shims can be made from cedar shingles if needed. Some installers use adjustable jack stands or a sturdy workbench to support upper cabinets during installation.
Preparing Your Workspace and Wall Layout
Poor prep work leads to misaligned cabinets, gaps, and wasted time.
Locating Wall Studs and Structural Support
Cabinets must be fastened to wall studs, the vertical framing members behind drywall. Use a stud finder to locate studs and mark them with light pencil marks. Most studs are 16 inches apart. Mark studs from floor to ceiling so you know where they are when positioning cabinets.
Inspect the wall for soft spots, water damage, or structural issues. Repair damaged drywall before installing cabinets. A ledger board, a horizontal 1×4 or 2×4 board fastened directly to studs, provides a level reference line and supports upper cabinets during installation.
Installing a Ledger Board for Upper Cabinets
A ledger board is the single most important preparation step for upper cabinets. Find the height where the bottom of your upper cabinets should sit (typically 54 inches from the floor). Using a level, mark a horizontal line at that height across the entire wall.
Fasten the ledger board to the wall studs with 3-inch wood screws, spacing fasteners 16 inches apart. The ledger board must be level, check it carefully before tightening all fasteners. This board will support the weight of upper cabinets while you position and clamp them.
How to Level Kitchen Cabinets on Uneven Floors
Most homes have floors that slope or dip unevenly. Cabinets must be level regardless of floor condition.
Measuring and Shimming Techniques
Before placing any cabinet, measure the floor height at multiple points along the wall. Identify the high point, this is where you'll start. Place the first cabinet with its bottom edge resting on the floor at the high point. Use a level on top of the cabinet to check if it's level side-to-side and front-to-back.
If the floor drops away, slip shims under the cabinet feet to raise it until level. Tap shims in gradually with a hammer, checking the level frequently. Once positioned, mark where the shims sit so you can secure them permanently. Trim shims flush with the cabinet using a flush-cut saw or oscillating multi-tool.
Using Leveling Legs and Adjustment Methods
Modern base cabinets often come with adjustable leveling legs rather than fixed feet. These legs screw up and down to accommodate floor unevenness. Position the cabinet and adjust the legs until level. This method is faster than shimming and leaves no visible shims.
Check level in multiple directions: front-to-back, side-to-side, and along the length of multiple cabinets. Cabinets that aren't level look wrong and may cause doors and drawers to stick.
Cabinet Installation Time Estimate and Project Planning
A typical kitchen with 15-20 cabinet boxes takes 2-4 days for one person working alone. Upper cabinets alone take 1-2 days, base cabinets take 1-2 days, and adding hardware and fine-tuning adds another half-day. These estimates assume you have all tools on hand and walls are in reasonable condition.
One-Person Installation Hacks
A cabinet jack becomes essential for solo installation, it holds upper cabinets at the correct height, freeing both your hands for positioning and fastening. For base cabinets, work from one end toward the other, installing and leveling the first cabinet completely before positioning the next.
Pre-drill all fastener holes before final installation. This speeds up fastening and reduces the chance of splitting wood. Mark stud locations on the back of each cabinet before hanging so you know exactly where to drive fasteners.
Step-by-Step Installation Process for Upper and Base Cabinets
Installing Upper Cabinets First
Always install upper cabinets before base cabinets. Start at a corner or end point. Position the first upper cabinet on the ledger board. Check that it's level and plumb using a level on the top, sides, and front face. If the cabinet rocks, add shims between the ledger and the cabinet until it's solid.
Once positioned, drive fasteners through the cabinet back into wall studs using 2.5-inch wood screws spaced 16 inches apart. Drive at least two fasteners per stud for security.
Position the next cabinet next to the first. Clamp them together at the face frames using bar clamps. Check that the tops align perfectly. Once aligned, drive fasteners through the side of one cabinet into the side of the next. Continue this process across the wall, checking level and plumb frequently. If you're looking for pre-made options that are ready to install, Custom Order Inset and Special Order Oak Inset Kitchen Cabinets are available if you prefer to skip the building phase and focus on installation and finishing.
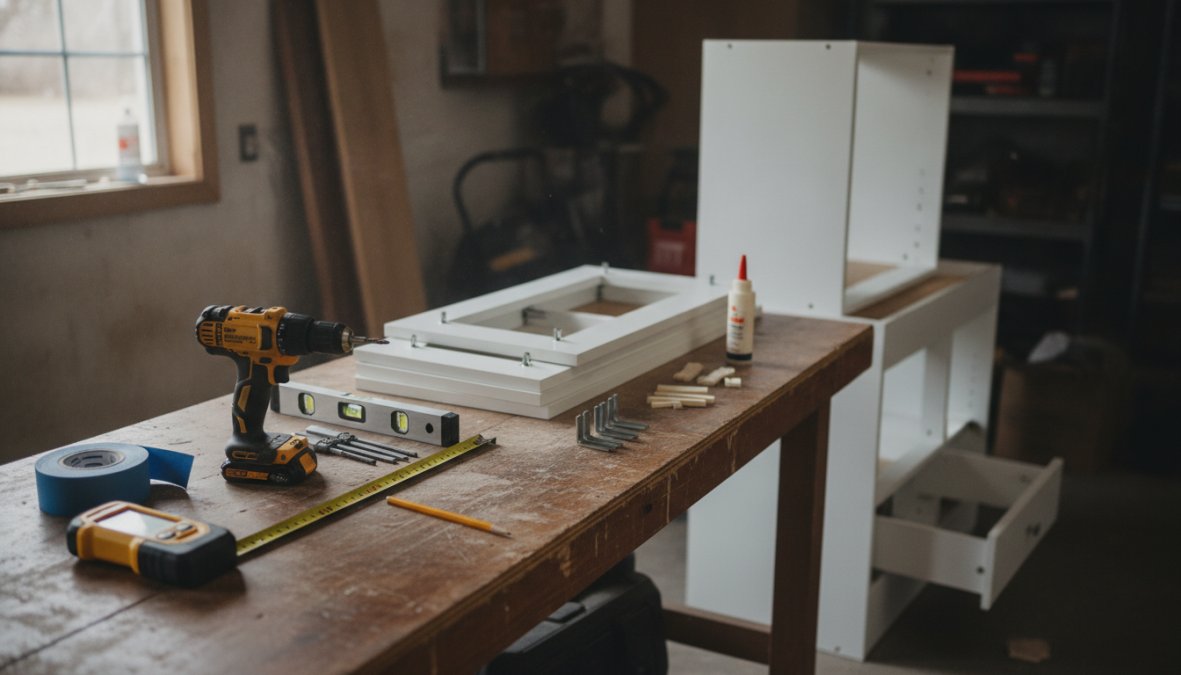
Clamping and Fastening Cabinets Together
Before driving a single fastener between two cabinets, clamp them together tightly using bar clamps or pipe clamps. Position clamps at the top and bottom of the face frames and tighten gradually, checking alignment as you go.
Once clamped, check that the cabinet fronts are flush and aligned. Only when everything is perfectly aligned should you drive fasteners. Drive pocket hole fasteners or face frame fasteners from the side of one cabinet into the side of the next using 2.5-inch fasteners. Drive at least two fasteners per connection point.
Securing Base Cabinets and Installing Hardware
Base cabinets install similarly to upper cabinets but sit on the floor. Position the first base cabinet and shim it level. Fasten it to wall studs using 2.5-inch screws through the back rail. Clamp the next cabinet to the first and align the tops. Continue across the wall, checking level frequently.
Once all cabinets are installed and fastened, install hardware. Hinges typically come pre-installed on cabinet doors, but you'll need to mount hinge plates on the cabinet boxes. Drawer slides mount on the sides of drawers and inside the cabinet boxes. Adjust doors and drawers once hardware is installed using the adjustment screws to fine-tune gaps.
Common Mistakes When Installing Cabinets
Skipping wall preparation is the most common mistake. Unrepaired drywall or structural issues will cause cabinet problems. Spend time inspecting and repairing walls before starting.
Installing without a ledger board for upper cabinets leads to sagging and misalignment. A ledger board is not optional.
Failing to locate and fasten to studs results in cabinets pulling away from the wall. Always fasten to studs. If studs don't align with cabinet backs, use blocking between studs to create fastening points.
Rushing the leveling process causes cabinets to sit crooked. Spend time shimming and checking level multiple times.
Not checking level and plumb in multiple directions leads to cabinets that look and function poorly. Check the top, front face, sides, and along the length of the run.
Post-Installation Maintenance and Care
Wipe spills immediately, especially around sinks and stovetops. Moisture is the enemy of wood cabinets. Clean cabinet exteriors regularly with a soft cloth and mild soap and water. Avoid harsh chemicals or abrasive scrubbers.
Adjust doors and drawers periodically. Over time, hinges may loosen and adjustment screws may shift. Check fasteners occasionally and tighten any that have loosened. If you notice water damage, address it immediately.
Installing kitchen cabinets yourself is achievable with proper planning, the right tools, and patience. The process requires attention to detail, especially when leveling, clamping, and fastening, but the satisfaction of completing the work yourself makes it worthwhile.
Frequently Asked Questions
Is it hard to install kitchen cabinets yourself?
DIY kitchen cabinet installation is achievable for most homeowners with basic carpentry skills and the right tools. The main challenges are handling heavy cabinet boxes, ensuring level and plumb alignment, and working with uneven walls. Success depends on careful measurement, proper wall stud location, and taking time with each step. Many DIYers find upper cabinet installation the most demanding due to height and weight, making a cabinet jack or helper essential. With patience and attention to detail, most projects can be completed successfully.
What tools do I need to install kitchen cabinets?
Essential tools needed for cabinet installation include a stud finder, level, tape measure, drill with impact driver, shims, screws, and fasteners. You'll also need a cabinet jack or support system for upper cabinets, clamping tools to hold cabinets together during fastening, and safety glasses. A circular saw or miter saw helps with scribe cuts for uneven walls, and a Kreg jig simplifies pocket hole drilling. Budget-friendly alternatives exist, a simple level and shim system can replace expensive electronic tools, and a helper can substitute for a cabinet jack in many cases.
Do you install upper or lower cabinets first?
Install upper cabinets first, before base cabinets. This prevents damage to base cabinets from dropped tools or materials, and gives you unobstructed access to wall studs for secure fastening. Upper cabinets require more precision and support, so installing them while you have full wall access ensures better alignment. Once upper cabinets are secure and level, you can position base cabinets underneath, aligning face frames and checking for plumb alignment between the two cabinet levels.
How long does it typically take to install kitchen cabinets?
Cabinet installation time varies based on kitchen size and complexity. A typical single-wall kitchen with 8-10 cabinets takes 2-4 days for one person, or 1-2 days with a helper. Larger kitchens with island cabinetry or complex layouts may require 5-7 days. Time increases significantly if walls are uneven, requiring extensive shimming and scribing. Allow extra time for measuring, wall preparation, locating studs, and installing a ledger board. Rush installations often lead to alignment problems, so pacing your work ensures level, plumb, and secure cabinets.
How do you handle uneven walls when installing cabinets?
Uneven walls require shimming and scribing techniques. Use shims, thin wedges of wood, behind cabinets to level them and close gaps between the cabinet box and wall. Start by finding the highest point on the wall using a level, then shim at wall studs to bring all cabinets level and plumb. For gaps larger than shim thickness, use scribe strips, thin wood pieces attached to the cabinet face frame to fill the space. A stud finder helps locate fastening points, and pilot holes prevent wood splitting when driving screws into studs.


