 833-377-8663

Minimalist Flat-Panel Cabinet Maintenance Tips

Table of Contents
- Why Flat-Panel Cabinet Maintenance Is Different
- How to Clean Flat-Panel Cabinets Without Streaks
- The Best Cleaner for Kitchen Cabinets by Finish Type
- Your Cabinet Maintenance Checklist: Daily, Weekly, Seasonal
- Cabinet Hinge and Drawer Slide Maintenance for Handleless Fronts
- Preventing Damage Around Sinks, Cooktops, and Cabinet Edges
- Troubleshooting Finish Wear, Scratches, and Peeling
- Frequently Asked Questions
Last Updated: October 8, 2026
Why Flat-Panel Cabinet Maintenance Is Different
Minimalist flat-panel cabinet maintenance tips start with one fact: a slab door has nowhere to hide.
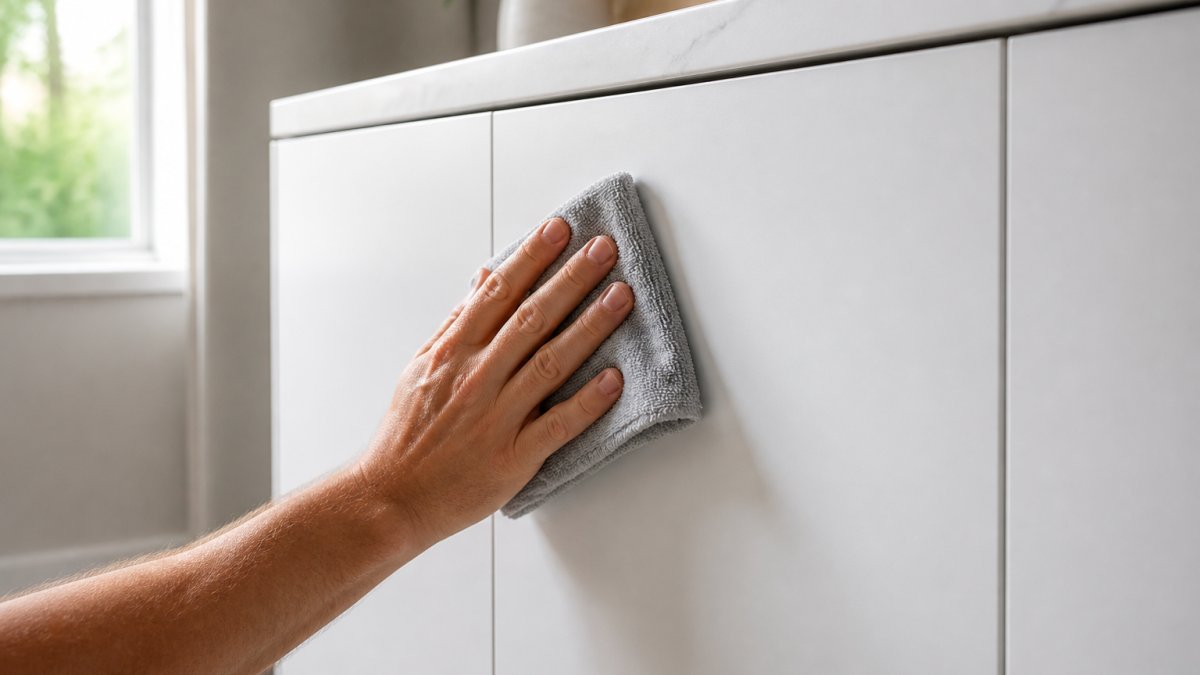
That changes how you clean. You cannot spot-treat one small area and walk away, because a half-wiped slab leaves a visible edge.
The finish matters as much as the shape. At RTA Wholesalers, we sell a lot of slab-front cabinetry, including our Modern Pantry Wall with its smooth, flat door and soft-close hinges.
Here is the short answer: dry dust often, wipe with a barely damp cloth, and never let water sit.
How to Clean Flat-Panel Cabinets Without Streaks
Streaks come from three things: too much water, the wrong cloth, and cleaning in direct sunlight. Fix those and a flat door wipes clean in seconds. Spray your cloth, not the door, wring it until barely damp, wipe in one direction, then dry immediately with a second clean cloth.
Daily and Weekly Wipe-Down Steps
Daily work takes under a minute. Weekly work takes about five.
Daily:
- Grab a dry microfiber cloth.
- Wipe the doors you touch most: under the sink, the trash pull-out, the fridge surround.
- Skip the spray bottle entirely. Dry dusting handles most of it.
Weekly:
- Mix a few drops of mild dish soap into a bowl of warm water.
- Dip a soft sponge or microfiber cloth and wring it out well.
- Wipe each door from top to bottom in one pass.
- Dry right away with a separate clean cloth.
- Finish with a dry buff to kill any haze.
A common mistake is soaking the cloth and letting the door air-dry, which leaves a chalky film along the bottom edge where water pools.
Removing Grease, Fingerprints, and Water Marks
Grease needs a little more than soapy water, fingerprints need less, and water marks need patience, not scrubbing.
- Grease: Warm water with a drop of dish soap. Let the damp cloth sit on the spot for a few seconds, then wipe. Repeat rather than scrub.
- Fingerprints: A dry microfiber cloth usually lifts them. If not, a barely damp cloth followed by a dry buff.
- Water marks: Dampen the spot, wait a moment, then dry thoroughly. Hard water spots may need a second pass.
- Sticky residue: A cloth dampened with a little rubbing alcohol, used sparingly and followed by a water wipe.
The Best Cleaner for Kitchen Cabinets by Finish Type
The best cleaner for kitchen cabinets depends on the finish, not the brand on the bottle. Mild dish soap and water is the safe default for nearly every slab front. Anything stronger should match the surface: each finish bonds to the substrate differently, so the same solvent that lifts grease off a painted door can soften a lacquer film or creep under a thermofoil edge.
| Finish | Safe Cleaner | Avoid | Why It Fails |
|---|---|---|---|
| Thermofoil / laminate | Mild dish soap (a few drops per quart of warm water), water, microfiber | Abrasives, acetone, scouring pads, steam | The surface is a thin bonded layer; heat and solvents lift it at the edges first |
| Painted (including factory-applied Sherwin Williams finishes) | Mild soap, water, soft cloth | Alcohol, ammonia, heavy scrubbing | Alcohol and ammonia dull the sheen and can soften the paint film |
| Wood veneer | Slightly damp cloth, dry immediately | Standing water, oil soaps, wax | Moisture wicks under the veneer and clouds the grain; oil soaps leave a residue that traps dust |
| Lacquer | Dry dusting, barely damp cloth | Solvents, all-purpose sprays, ammonia | Solvents eat into the finish and leave a permanent haze |
| High-pressure laminate (HPL) | Mild soap, water, microfiber | Bleach sprays, abrasive powders | The wear layer resists water but not abrasion; powders scratch the matte surface |
Whatever the finish, the technique stays the same: damp, not wet; dry, not air-dried. A cloth wrung until no water drips is the right starting point.
How to Test Any Cleaner Before You Use It
Before committing a new product to a full door, spot test on a surface you rarely see, the inside of a door, the bottom edge of a drawer front, or the back of a filler strip. Apply the cleaner to a cloth, wipe a two-inch area, and wait ten minutes. If the finish looks duller, feels tackier, or shows a ring, stop. Thirty seconds prevents the most common finish complaint we hear.
Dilution and Dwell Time
Stronger is not cleaner. A few drops of mild dish soap in a quart of warm water handles routine grease. Let the damp cloth sit on a spot for five to ten seconds to soften residue rather than scrubbing harder. For sticky residue, a cloth dampened with a little rubbing alcohol works on laminate and thermofoil, sparingly, followed by a water wipe, and never on painted or lacquer doors.
Products and Methods to Avoid
Some cleaners do more harm than the dirt you are chasing. Skip these on any flat-panel door:
- Abrasive powders and scouring pads
- Bleach-based sprays
- Ammonia glass cleaners
- Furniture polish and wax on non-wood finishes
- Solvent cleaners like acetone or paint thinner
- Steam cleaners, which can lift thermofoil edges
- Oil soaps, which leave a film that attracts dust
Your Cabinet Maintenance Checklist: Daily, Weekly, Seasonal
A cabinet maintenance checklist turns guesswork into a habit. Daily work is seconds, weekly work is minutes, and seasonal work catches problems before they become repairs.
| Frequency | Task | Time |
|---|---|---|
| Daily | Dry-dust high-touch doors and drawer fronts | Under 1 minute |
| Weekly | Damp-wipe all fronts, dry and buff | 5 minutes |
| Monthly | Check hinges and slides, tighten screws | 10 minutes |
| Seasonal | Deep-clean, inspect edges and seals, touch up | 30 minutes |
The seasonal pass is the one people skip, and it matters most. Open every door wide, run a finger along the bottom edge and hinge side, and look for swelling, lifted edges, or a rough finish. Catching a small lifted edge early is a five-minute fix; a year later it usually means a new door.
Modern Pantry Wall 30" wide x 36" tall x 24" Deep - Slab Door →
Cabinet Hinge and Drawer Slide Maintenance for Handleless Fronts
Cabinet hinge and drawer slide maintenance matters more on handleless fronts, because you open the door by pushing on the panel itself, sending that pressure straight into the hinge and mounting screws.
Check these twice a year:
- Hinge screws: Tighten any that have backed out. Loose screws let the door drop and rub.
- Soft-close action: If the door slams instead of easing shut, the damper is worn.
- Slide tracks: Wipe out crumbs and grit with a dry cloth, then leave them dry.
- Alignment: Open the door and check the gaps. Even reveals are the whole point of a minimalist kitchen.
Our Modern Pantry Base uses soft-close hinges on both doors, with the same adjustment points found on most RTA cabinets. A quarter turn on the right screw fixes most sagging doors.
Preventing Damage Around Sinks, Cooktops, and Cabinet Edges
Water and heat cause more cabinet damage than dirt ever will. The three danger zones are the sink base, the cabinets beside the cooktop, and any door edge near a dishwasher vent. Each fails for a different reason, so each needs a different habit.
The Sink Base: Standing Water and Slow Leaks
Around the sink, the enemy is standing water. Wipe the sink base doors after every use and dry the bottom edge where water pools. Check the caulk line where the counter meets the cabinet monthly and re-seal any gap.
A simple test: press a dry paper towel against the inside floor of the sink base cabinet. If it comes away damp, you have a leak to trace, usually at the supply line, the drain basket, or the caulk line.
Beside the Cooktop: Heat and Baked-On Grease
Next to the cooktop, the enemy is heat and grease. Give cabinets a foot of clearance from the burner edge where the layout allows, and wipe grease weekly rather than monthly, baked-on grease is far harder to remove without scrubbing, and scrubbing damages the finish. A damp cloth with a drop of dish soap, used while the surface is warm but not hot, lifts most of it in one pass.
Edges and Grooves: Where Moisture Wicks In
Along the edges, the enemy is moisture wicking into the core. Dry the bottom edge of every door after mopping, and keep any routed handle groove dry too, since water collects there against the raw edge. A dry microfiber cloth run along both after every mop is the highest-value habit in this section.
A Seasonal Inspection Routine
Once a season, open every door wide and run a finger along the bottom edge and hinge side. Look for swelling, lifted edges, or a rough finish. A small lifted edge is a five-minute fix with a thin bead of clear adhesive, pressed flat and weighted; a year later it usually means a new door.
Troubleshooting Finish Wear, Scratches, and Peeling
Most finish problems on flat-panel doors fall into four buckets, each with a different fix.
- Scratches: Light surface scuffs on laminate or thermofoil usually will not buff out. A color-matched touch-up marker hides them better than polish.
- Peeling edges: Heat and moisture lift the bonded layer at the edge first. A thin bead of clear adhesive, pressed flat and weighted, can reseal a small lift.
- Dull patches: Usually cleaner residue, not worn finish. A damp wipe followed by a dry buff often restores the sheen.
- Cracking or crazing: A sign of heat exposure or an incompatible cleaner. This one usually needs a replacement door.
One honest limitation: once a thermofoil or laminate surface is scratched through to the core, no home fix restores it perfectly.
If you are planning a larger refresh, our custom order inset options let you match a replacement door to an existing run instead of redoing the whole kitchen.
A minimalist kitchen only stays minimalist if the surfaces stay clean and the hardware stays tight.
Frequently Asked Questions
How often should flat-panel kitchen cabinets be cleaned?
A quick dry dusting every two to three days keeps loose dust and crumbs off the surface. Wipe high-touch areas like integrated handles and door edges with a damp microfiber cloth once a week. Do a deeper clean with a finish-safe cleaner every four to six weeks, and add a seasonal check of hinges, drawer slides, and edges. Kitchens that see heavy cooking or grease should move to a weekly damp wipe instead of every other week.
Can you use vinegar on painted or laminate flat-panel cabinets?
Skip vinegar on painted, lacquered, or laminate slab doors. Its acidity can dull the finish and leave streaks on Thermofoil and veneer surfaces over time. A drop of mild dish soap in warm water, applied with a soft microfiber cloth and dried right away, handles most fingerprints and light grease without harming the finish. For stubborn spots, use a cleaner labeled safe for the specific finish on your cabinets.
How do you prevent fingerprints on flat-panel cabinets?
Fingerprints show up fastest on dark and glossy slab doors, so start by wiping the most-touched spots, like door edges and integrated handle areas, with a dry microfiber cloth each day. Wash hands before cooking, and avoid silicone-based polishes that attract dust. If prints keep returning, a finish-safe cleaner applied lightly and buffed dry will leave less residue for oils to cling to.
What should you avoid when cleaning minimalist cabinet fronts?
Avoid abrasive pads, scouring powders, bleach, ammonia, and any cleaner with grit or wax. Never soak the surface or let water sit along door edges, because moisture works under the finish and swells the core. Skip paper towels, which leave lint and can scratch laminate. Use a soft microfiber cloth, wring it nearly dry, and wipe in the direction of the grain or finish.


